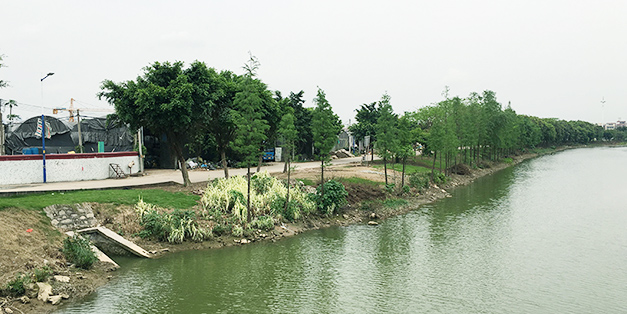
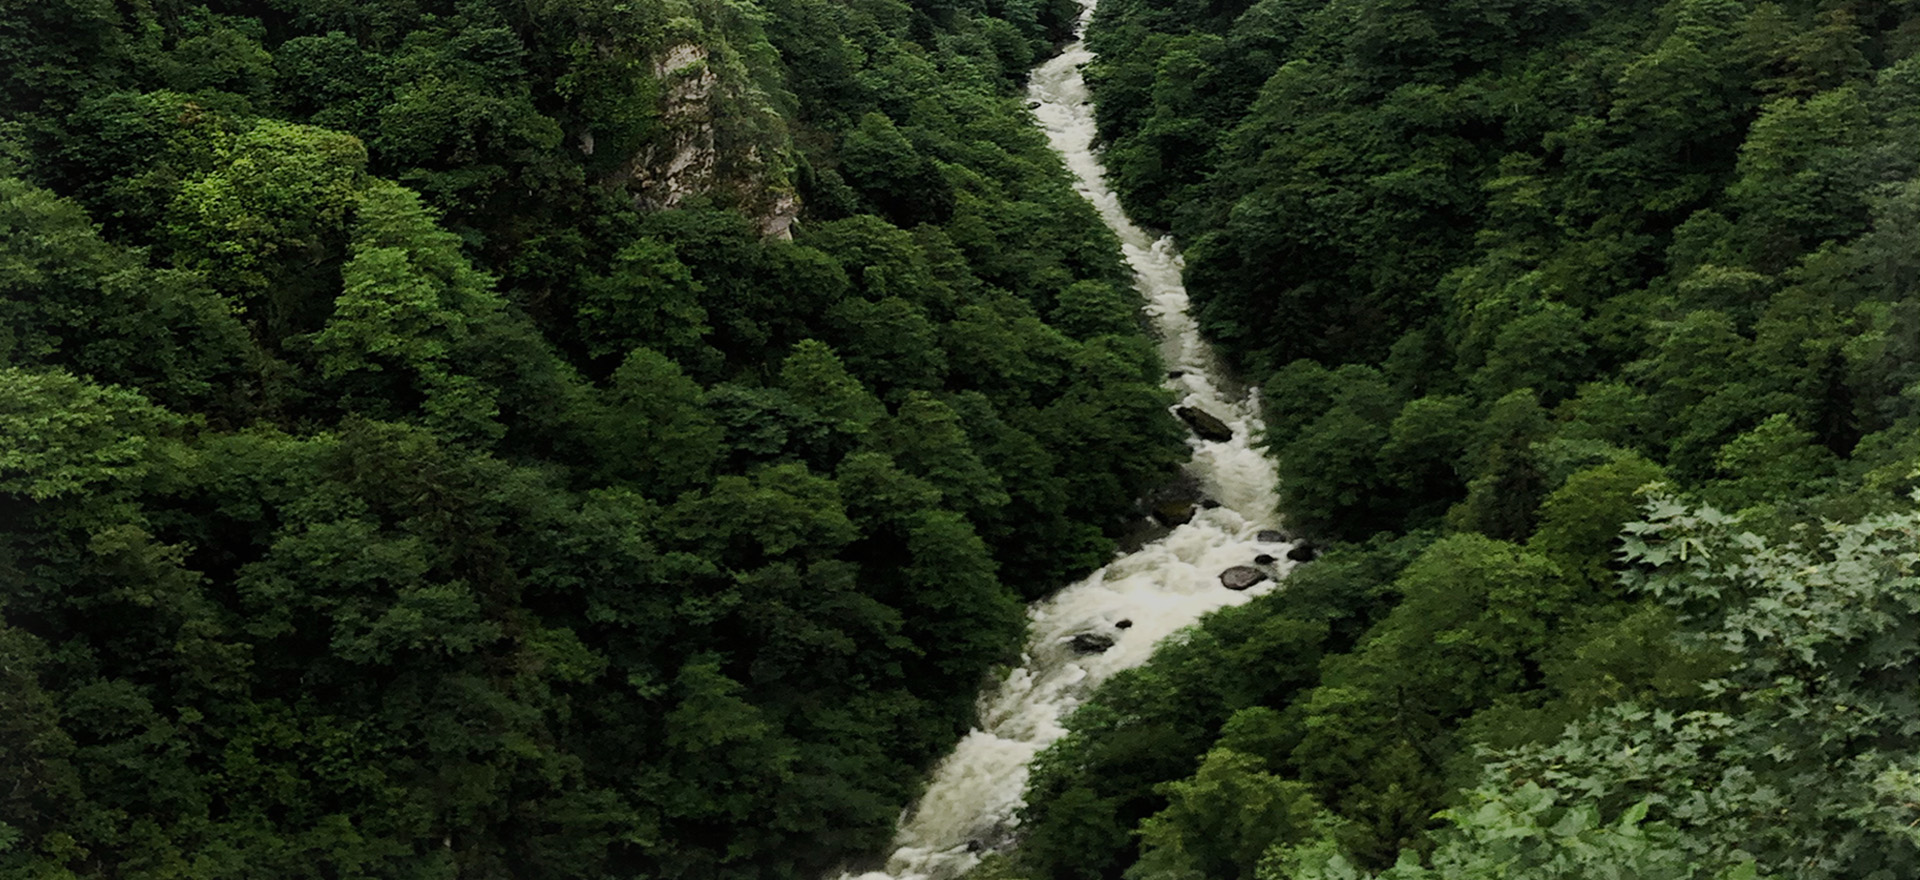
黑臭河涌综合治理是一个复杂的系统工程,遵循“源头截污、过程控制和分步治理”的原则,采用雨污分流、截污清淤、底泥修复、生态治理、水质净化相结合,运营维护与管理措施并举,消除黑与臭,从而实现黑臭河涌的综合环境治理...
河道湖泊“原位修复,泥水同治”技术是采用新型物化凝聚剂与泥水充分搅拌,通过凝聚、吸附、电化学、螯合固定和分离作用,使溶存在污水中的物质(其中包括金属类的污染物)和悬浊物快速凝集分离,使污水转化为水质优良的清洁水...
雨污分流治理是一种较先进的改造技术,通过构建合理的城市排水管理体系,可有效提升污水收集率,缓解水污染问题...
广州市j9九游会 - 真人游戏第一品牌科技股份有限公司引进德国先进的污泥干化技术和设备,属世界领先技术。该设备优势从六个方面体现:设备操作优势、环境节能优势、设备优势、设备机械优势...
以固定式生物膜的形式存在,大大提高了单位反应器体积微生物浓度,从而有效的提高反应器的容积负荷,增强了系统整体的抗冲击负荷能力和处理效果,节省了占地面积...
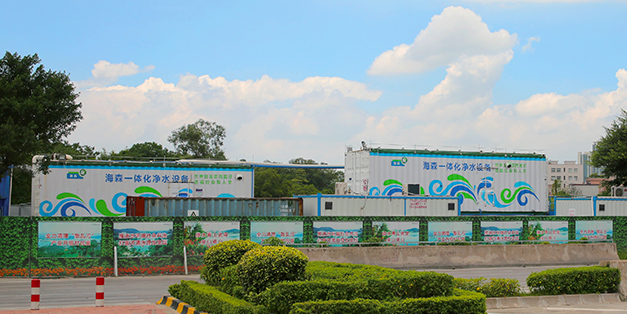
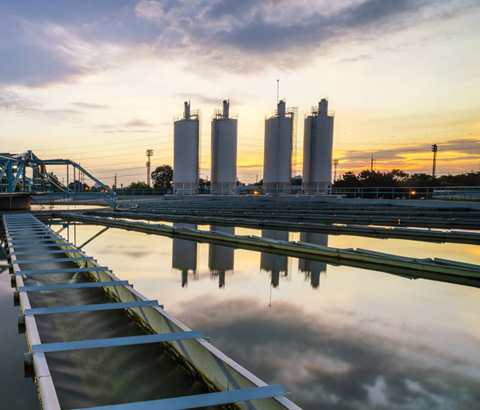
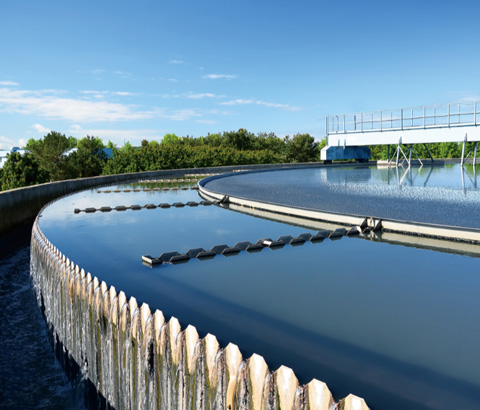
集中式污水处理是指建立大型污水处理厂,将较大范围内的污水统一收集再处理。其主要特征是:统一收集、统一输送、统一处理...
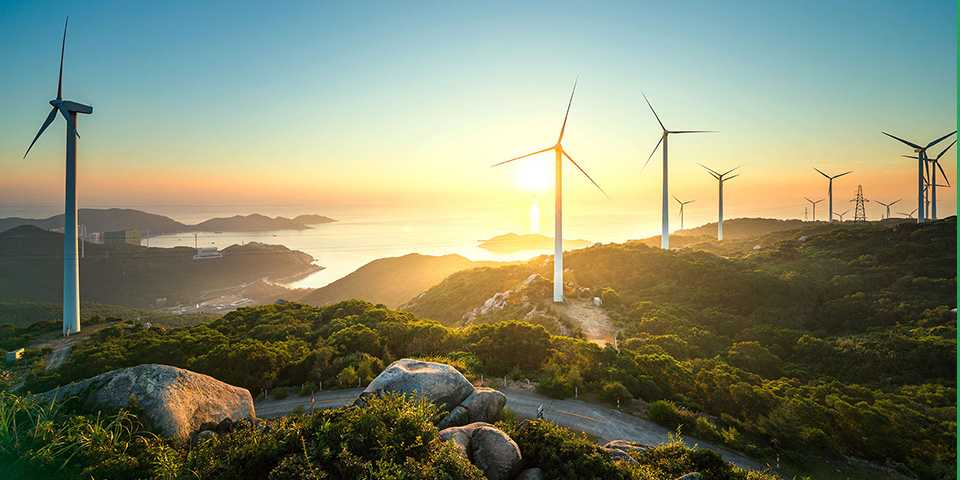
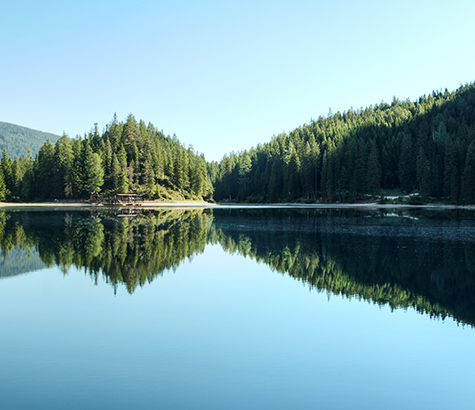
海绵城市就是运用低影响开发理念,下雨时吸水、蓄水、渗水、净水,需要时将蓄存的水“释放”并加以利用。海绵城市建设适用于城市道路、城市河道、公园绿化、城市绿道、小区花园、学校运动场、庭院绿化及屋顶绿化...
城市生态环境建设
治理水环境
废气治理


 报告厅解决方案案例")